Here is a list of steps for preparation of a Windows Server 2012 for deployment of web packages or deployment from Visual Studio.

- Activate Web server role
- Install Web Deploy
- Open network ports
- Create an account for deployment
- Create web sites
- Configure deployment for sites
1. Activate Web server role

Enable Management Service feature

2. Install Web Deploy
The easiest way to install Web Deploy is using Web Platform Installer. Web Platform Installer must be downloaded and installed separately and after installation Web Platform Installer icon is available in the Management section of IIS management console.

Search for “deploy” in the list of available packages and select Web Deploy and Web Deploy Hosting Service for installation.

Check that Web Deployment Agent Service and Web Management Service are running after the Web Deploy installation.

Wed Deploy creates to users in Administrators group: WDeployAdmin and WDeployConfigWriter. Set “Password never expires” on both accounts

3. Network ports
Two TCP ports must be opened to our windows server: 80 and 8172. By default, the Web Deployment Agent Service (MsDepSvc) listens on port 80, and the Web Management Service (WmSvc) listens on port 8172 by default.
To check server availability on these ports open the following links in a web browser:
http://<ip-address>/MSDeployAgentService
https://<ip-address>:8172/msdeploy.axd
We will be asked for login and password. We can login using server Administrator account. In case of connection to 8172 port we will be asked about invalid security self-signed certificate.
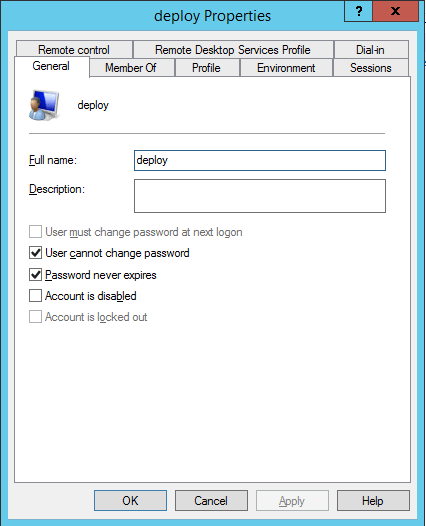
5. Create an account for deployment
We can either use Administrator account for deployment or create a new account. I could not make deployment work with IIS Manager accounts. In my case only Windows users included in Administrators group was able to deploy applications to web server through command line.
Lets create a new user called deploy. This user should not be able to change password and password should never expires.
6. Create web sites
An application can be deployed either to a web site or to a web application. There is one site called “Default Web Site” that is available by default.

If we want to deploy an application to other site then default it must be created before hand.

7. Configure deployment for sites
Every site that will accept deploy must be configured for this. Select “Deploy” in site’s context menu and choose “Configure Web Deploy Publishing…”

Choose a user account to perform deploy.

8. Test deployment from Visual Studio
Create a new publishing profile. And write exactly! the same Server name and site name in profile settings:

Verify Connection and accept the certificate.

Then just Publish and application will be immediately published using the just created publishing profile.
Here is an official guide Installing and Configuring Web Deploy on IIS 8.0 or Later.